I recently tried to use a MSY2 to stop and start my modular sequencers when a midi start/stop was received. It doesn’t do this unfortunatly. The clock output on the 1/8″ output jack (ie. to provide clock to modular devices) will send clock pulses as long as a midi clock is present on the midi input.
Also of note – though likely obvious – the midi through does pass sync on from the midi input. In my case I was using Korg SQ-1 midi output for clock, thru to the Octatrack and the clock out to modular. I had hoped pressing stop on the SQ-1 would stop the modular clock output (though even if it did I would still need to worry about sending a reset to any connected sequencers).
Another item of note – the SQ1 is not a great master clock due to the very hard to set master tempo (ie. the “speed” control) on the sq1. The knob is extremely sensitive making it quite hard to dial in an exact tempo. Perhaps a bigger replacement knob would make it easier.
Also of note – the MSY2 has a power input but, at least with midi coming from the Octatrack, enough power is sent over midi to not require the power supply. I’ve not tested this when using the din-sync outputs. These may increase the power requirements. At least when only using the clock output, all works with no external power.
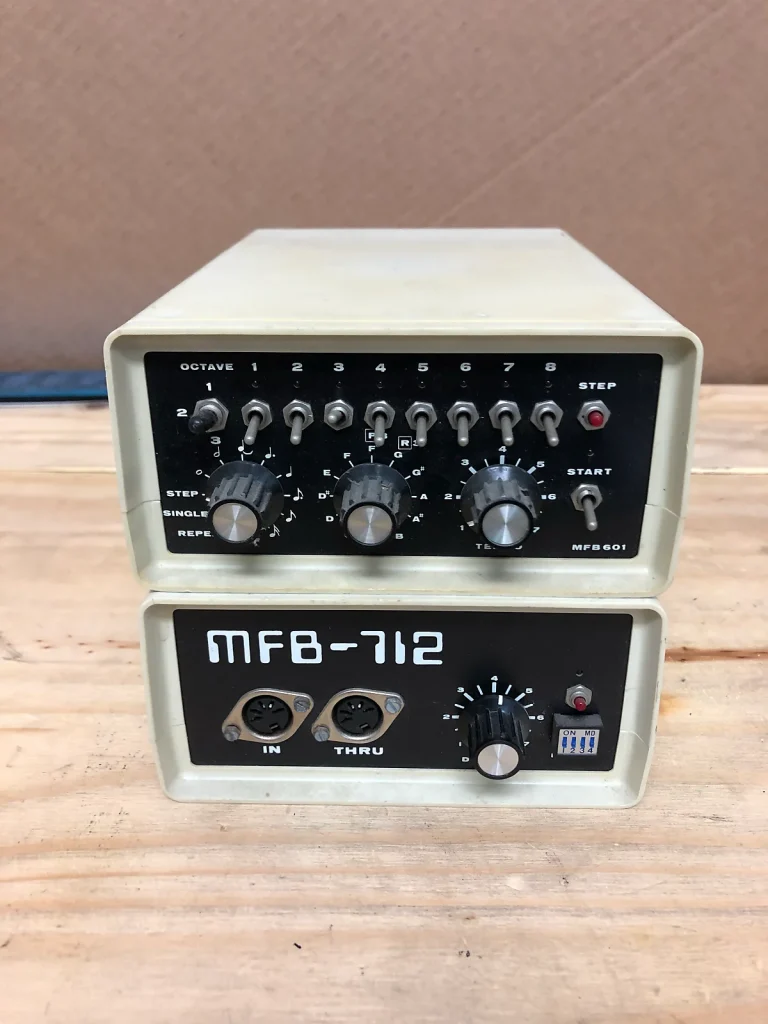
To set the MSY2 to output one pulse per 16th note, set the dip switches on the underside of the unit to:
1 – up
2 – down
3 -up
4 – down
5 – up
6 – up
Note per the manual (I believe) only switch 1-4 affect the clock division. 5 and 6 may be set differently for your particular needs.