A fundamental part of “groove” is sub-bass, and I’ve been trying lately to make a more conscious effort to have a single, good source of sub-bass to turn to. Especially as the same sub-bass can be used over and over and in multiple scenarios and genres. Recently I decided to explore self-resonant filters and results are a bit boring but interesting. I tested the Intellijel uVCF, the 2HP MMF and they Tiptop Audio Z2040. I essentially found that they all serve the same role in sub-bass. They could all make a nice resonant sub-bass. The four poles of the 2040 versus the two of the other filters do not seem to make much difference. To be clear I did not test these tracking actual notes but instead just going with what felt good – sending a CV sequence and then using an attenuator to get the feeling and sound that I was looking for.
I also tested all three as a general filter source, and again it was hard to find a clear winner. The MMF seemed as if it had the fullest sound. I don’t know if either my signal going in was hotter or it distorts some. It did not do not sound distorted at all, but did feel strangely fuller. I Feel like the “loser” in this was the Z2040 only because it offers only the low pass output where the other two are multi-mode and seem to still do the same quality of job with low pass filtering. I ran some finished music through all three for low pass filtering, and very some amount of resonance, and they all worked about the same so pressed for money or space the 2040 would probably go and then between the other two I suppose the best would be the MMF paired with an attenuator as there is no onboard attenuation that combo would give the same hp usage as the uVCF but also give the option to use the attenuation for totally different task if used in a very small hp case (which we all dream of, right?).
Related to this I got out the Moog Minotaur and tested it as well. Initially it seemed to fail my sub-bass test as far as having anything unique with sub-bass in particular. You definitely need to add a bit of attack and decay to stop any clickiness, but for pure sub-bass, it nearly was no different than using a self oscillating filter. However, I did find that the general interface is nice and being to add glide or the second oscillator at a strange DTuning even had extremely filtered amounts does give interesting variations to the bass, in addition, I remember years ago using this and being very happy with it adding a bit of LFO to the pitch to give interesting groove again and slightly non-pure musical or non-traditional musical settings obviously, with more standard music LFO to the bass pitch would be at least odd, and usually not very useful.
Interesting thing about the Minotaur once I began testing it in general and there is an a very distinguishable Moog oscillator sound particular the square sounds just I don’t know if it’s more hollow as a sound and then the filter residence doesn’t go totally out of control, but definitely gives that moose sound s very interesting to confirm that many cases if one wanted a full synthesizer pallet on does need some sort of Moog and the Minotaur fills that role at least in bass up to middle tones. It is not allowed to tune higher than some particular frequency, but even for a lot of my quasi TV, 303 type sequences it had most of the trouble that I needed.
Started with me using traditional bass type sounds with an additional layer filtering because knew but somewhat refused to accept that even a good sub-bass needs an additional amount of filter on top to get rid of any clicks or other artifacts of the envelope so I use the Michigan Michigan synth works SY 0.5. It’s a setting and had great results very good results and then I tried the two HP kick which actually had decent results to a different flavor but definitely could be used as a sub-bass type voice especially filtered through a through a another low pass fi.
When I said that, I refuse to accept that Lopez filter was deed what I mean is that so many times I would be frustrated by inconsistencies in the cake or the bass or small envelope artifacts, and the whole time I knew that adding a low past filter, but basically solve this, but somehow I kept looking for that perfect sense of voice or other tool that gave it without the filter. And obviously this is a silly time wasting thing to do when literally had a filter in front and the problem is solved so that is what I finally did and it worked out quite well.
Course now my task would be to pick one and keep it patched up as the permanent sub-bass solution, which again does make the Minotaur more attractive, and that it can also serve as a decent full scent voice for a lot of purposes. Also, something like the role in SHO1A, S1, etc. As usual, as hard to tell, what are the mental trickery of “real analog” starts and stops part of me would love to keep the Minotaur another part of me says I could both get good money out of it, and also more compact or reusable set up to just use some bit of your rack for sub-bass, which I could also use for other purposes, when not being the bass voice
ALM MFX thoughts
I’ve recently acquired a used ALM MFX. I like it and will likely keep it. The primary question, as usual, is if effects are really “worth” having in the rack versus stand alone. Though surely at least one is, right? Of course my problem is I have, let’s see…
- ALM mfx
- Erica Stereo Delay
- Erica Black hole DSP
- Synthrotek Echo
- Erica Pico DSP
- 2hp delay
- 2hp reverb
- what else? probably more
So, what to do? Well. I don’t know.
But about the MFX – I do like it. The bit corrupter was the main draw for me. I want those glitches and repeats. I’m not entirely happy with the bit corruptor though. I can’t put my finger on why/what but most of the things I like about it could nearly be done with a delay with hold/freeze.
The bit reduction options actually did somethings I like. I normally hate and despise all bit reduction (is my language too strong?). At the lowest rate you get very nice “synthesizer becomes shoegaze/noise guitar” effect). At various other settings I for once got some nice “reminds me of game boy” tones (note to game boy audio purists – I am not a purist so don’t rely on my comments at all). A few settings also gave me instant “this is now an early fm chip” vibes.
The real “problem” with the MFX is more that the other effects are so good – or at least average quality yet highly useful. One could keep it parked on the distortion, compressor, or even the panner forever.
The supposed quadraverb clone didn’t do much for me. Though I own nearly all the early Alesis products so perhaps my expectation are high. The issue with most of the delays and reverbs seems to be a lack of cohesion with the original source. This may be down to a “gain staging” (oh I hate that phrase) issue. On the midiverb, etc. the output seems to be a very complete “whole” voice. On the MFX (so far) my output always feels a bit “on top” of the effect.
The other issue for me is that while the MFX has a good amount of cv inputs (to make up for zero knobs), saving the preset saves the cv assignment and not the value they are set to. The same issue exists on the MCO mkii (which I’ll likely sell). There needs to be a save mode that saves either a.) the cv assignments (ie. “save this performance setup I’ve made) or b.) the values the cvs are set to and then removes the cv assignment (ie. I’ve used the cv attached knobs to find a good config – now save the config for later use).
A commenter on muffwiggler mentioned the great presets and I agree. The go a great job of showing off what each algorithm can do. They are welcome as well as the ability to save our own presets.
As stated – I like it. The criticism is only because it does enough to make me want to use it and thus notice the places it could be improved.
Erica Black BBD
Recently bough (and sold) an Erica Black BBD. First impression was the whine – turn past a certain point and a high pitch whine is very noticable. The “character” switch is, as far as I can tell, simple levels of filtering to hide this. None really do though. Given more time though, it does grow on you. You need to simply view the longer times as a bonus (a bonus with a high pitched whine). My prompting for selling was that I have other delays that do the long-delay-time abuse better. The Synthrotek delay goes all wrong at the far end of its range but in a much better way. I’ve never really found a use for it but I enjoy it more than the whine of the Black BBD. My main issue is likely that I want long delays and a BBD is not the right tool. At shorter times the LFO did create nice, if noisy, chorus, etc. Given unlimited space and money I would have kept it. I had a lot of nice results using delay modulation to get two or even three voice loops. Voice one being my input, voice two being rhymic noise (think “snare”) and voice three at times being the whine.
Eurorack red stripes
A list of some modules without clear markings
Intellijel hexvca – red stripe is near the bottom of the module.
Testing Eurorack Envelopes
I spent some time testing envelopes tonight. I already have what is likely the perfect one for me – Makenoise Maths and yet… I want something smaller. Requirements are the same exponential sound and CV over rise and fall. I picked up a Makenoise Function and sadly learned tonight that it only outputs 8V. Maths puts out 10V and, for me, this is key to the wide modulation range I like on filters. My primary complaint with other envs I’ve tried is that low output and need to amplify them. It was sad to find out that Function has the same problem. 8V is more than many offer but still needs amplified for my uses. If I accept that I’ll need to amplify the output, now many others are in play. In particular… the ALM Pip Slope.
The downside of the Pip Slope has always been the very weak output (5v?). The upside? Many features (and low hp). Yet, after testing… I’m selling the Pip Slope. The problem? The attack – it seems linear at all times and just doesn’t give the magic that the Maths and Functions attack gives. I never really found the delay or the bouncing ball to be quite what I expected yet they worked great when activated for normal sequences – they gave little extra flourishes. Not quite the delay or bouncing ball they claim to but perhaps something better – ie. the happy accident. The delay and bouncing ball DO work – just, for me, not quite what I expected.
The hidden gem though… the 2hp EG. Nearly a Maths env in 2hp. 10v output with a built-in attenuator. Great response for both attack and decay. Can match Maths in a lot of uses. The problem – other than an a time cramped panel (to be expected at 2hp though!) – is some hard-to-define Maths magic. The final tail of the Maths envelopes seem to linger a bit. At times I almost feel like Maths is perhaps putting out some constant small voltage (I’m using the function out, not the sum, etc.). It is not a constant voltage (this would be easy to test and hear) yet still the decays seem a bit more organic. Bad news due to Math’s size. Function does seem close but … the 8V output.
Mutable Stages can do a pretty nice Math’s curve imitation and seems to put out perhaps 8V as well. Peaks also surprised me with the quality of its envs as well (and a bouncing ball env in an alt firmware).
The 4ms Mini Peg is next up. I’ve used it some and enjoyed it but not done real tests. The good news? 10V output.
I really hate to dwell on the 10V but I do think for me this is the key to the sound I want. I even start to wonder if this is part of the Maths “snappiness” people report. Maths can be snappy but it is also loud and, at least for me, I associate that high range with a harsh, snappy sound. By “loud” I mean the high voltage it pushes can fully open a filter starting at fully closed – I hear the broad range of the filter.
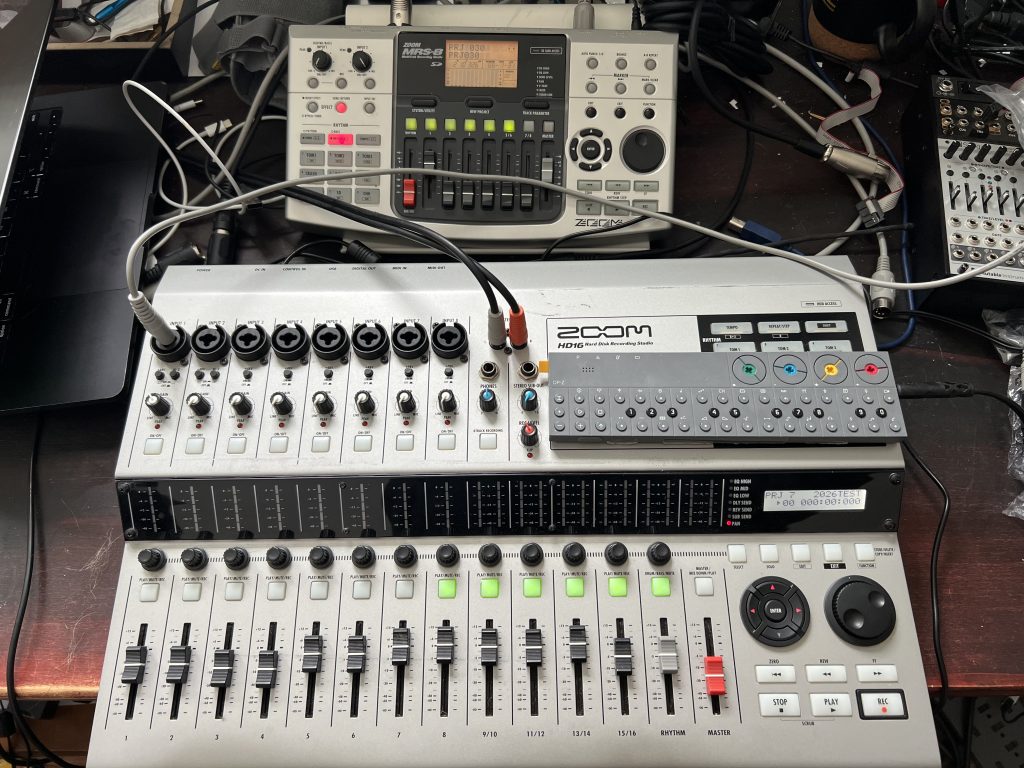
Zoom MRS-8 vs HD16
I’ve been spending some time comparing the Zoom MRS-8 to the HD16. I’m not familiar with either in detail so I may miss important details.
functionally it is easy to move from one to the other. They have nearly the same button and features with th HD16 having a few extra physical elements to speed up access.
I was curious if the file access (selecting projects, etc.) was faster on the HD. I assumed the SD card slowed down the MRS. Selecting projects is faster. However initial boot up is slower. Mine performs a long scan of the drive for projects.
also of interest is that the A/B loop is no smoother. Both have a delay at the end of the loop. It is nothing like smoothly looping a section in a DAW.
they are both fun to use and give their own feel to the process of creating music.
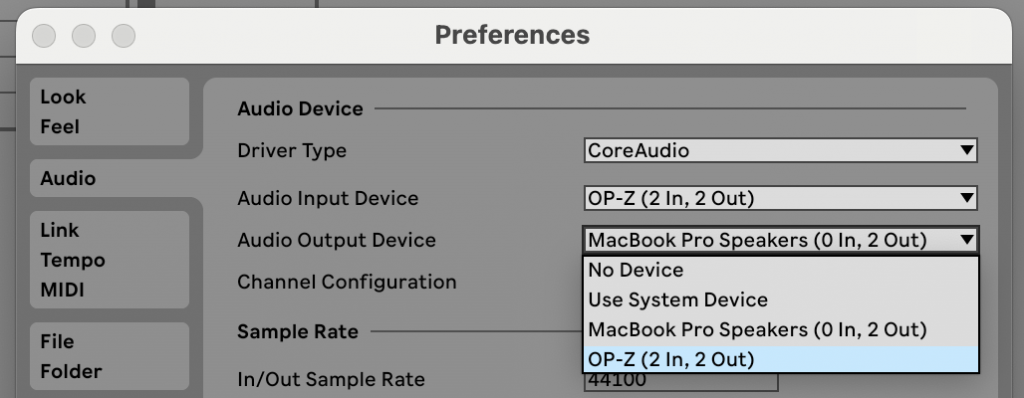
OPZ
Use as audio interface:
Plug to macbook – it should show up as an audio interface in Ableton
Use as a microphone
Hold vertical, green light comes on to indicate mic mode. Hold down the 4th button on the side to turn on the mic (led turns red). Press P to increase volume, mix to decrease, metronome to toggle through fx1, fx2, both and no effects.
DX100 program sysex dump
To dump the patches on a Yamaha DX-100:
Ensure “sys info” is on by pressing function + 5
The DX100 cannot, as far as I know, bulk send all patches. Instead, when sys info is on, it always does a 101 byte sysex dump of the newly selected patch on each patch change.
To dump your patches:
1. start your sysexec recording recording
2. Select patch 1 (you should see 101 bytes received by your sysexec recorder
3. Select patch 2, etc.
To transfer the patches, you play back the sysex file and the DX100 will automatically receive the patches.
Disting MK4 vs 2hp Play
The best way I’ve found to emulate the 2hp Play with the disting is by using Algorithm I3. Create a playlist.txt to set looping to off. The connect a knob to the y input for pitch. You now have sample select on Z and pitch on Y. The pitch is a bit extreme – good to have but would be nice to lock it to a smaller range
Easy summation of the redemption of mankind
Psalm 25:7 contains perhaps a great summation of the God’s redemptive action:
“Gracious and righteous is the Lord : therefore will he teach sinners in the way.”
It describes God as both gracious and righteous and man as sinners. God is righteous – he is good and pure beyond a way we can understand. We get a sense of it when we naturally view various situations as “unfair” – from the trivial (“something minor went wrong in my life”) to the monstrous (rape, murder). Pure good exists and he is that good. We are sinners – we cause and enable the bad. From here we cannot approach God. It is more than a matter of good mixing with bad. It is perhaps so much as his goodness literally would destroy our badness. We would be destroyed in his presence.
Yet God is gracious – he desires to help us. From here the narrow and clear path (“believe on Christ”) becomes deeper. How does it all work? Why did it have to be this way. These can’t be easily addressed and for many never should be. It is common for the thinking man to think he is “too smart” for Christianity. What he really means is he is “too smart” for the average take. The person who simply believes. That is fine – but leave the simple believer along (the mass of people).
Back to the gracious – he provided a way for us to approach him. Rebirth in Christ. Hundreds of years of though can go into the how and why. For now understand the general outline:
God is good.
God wants to redeem you.